-40%
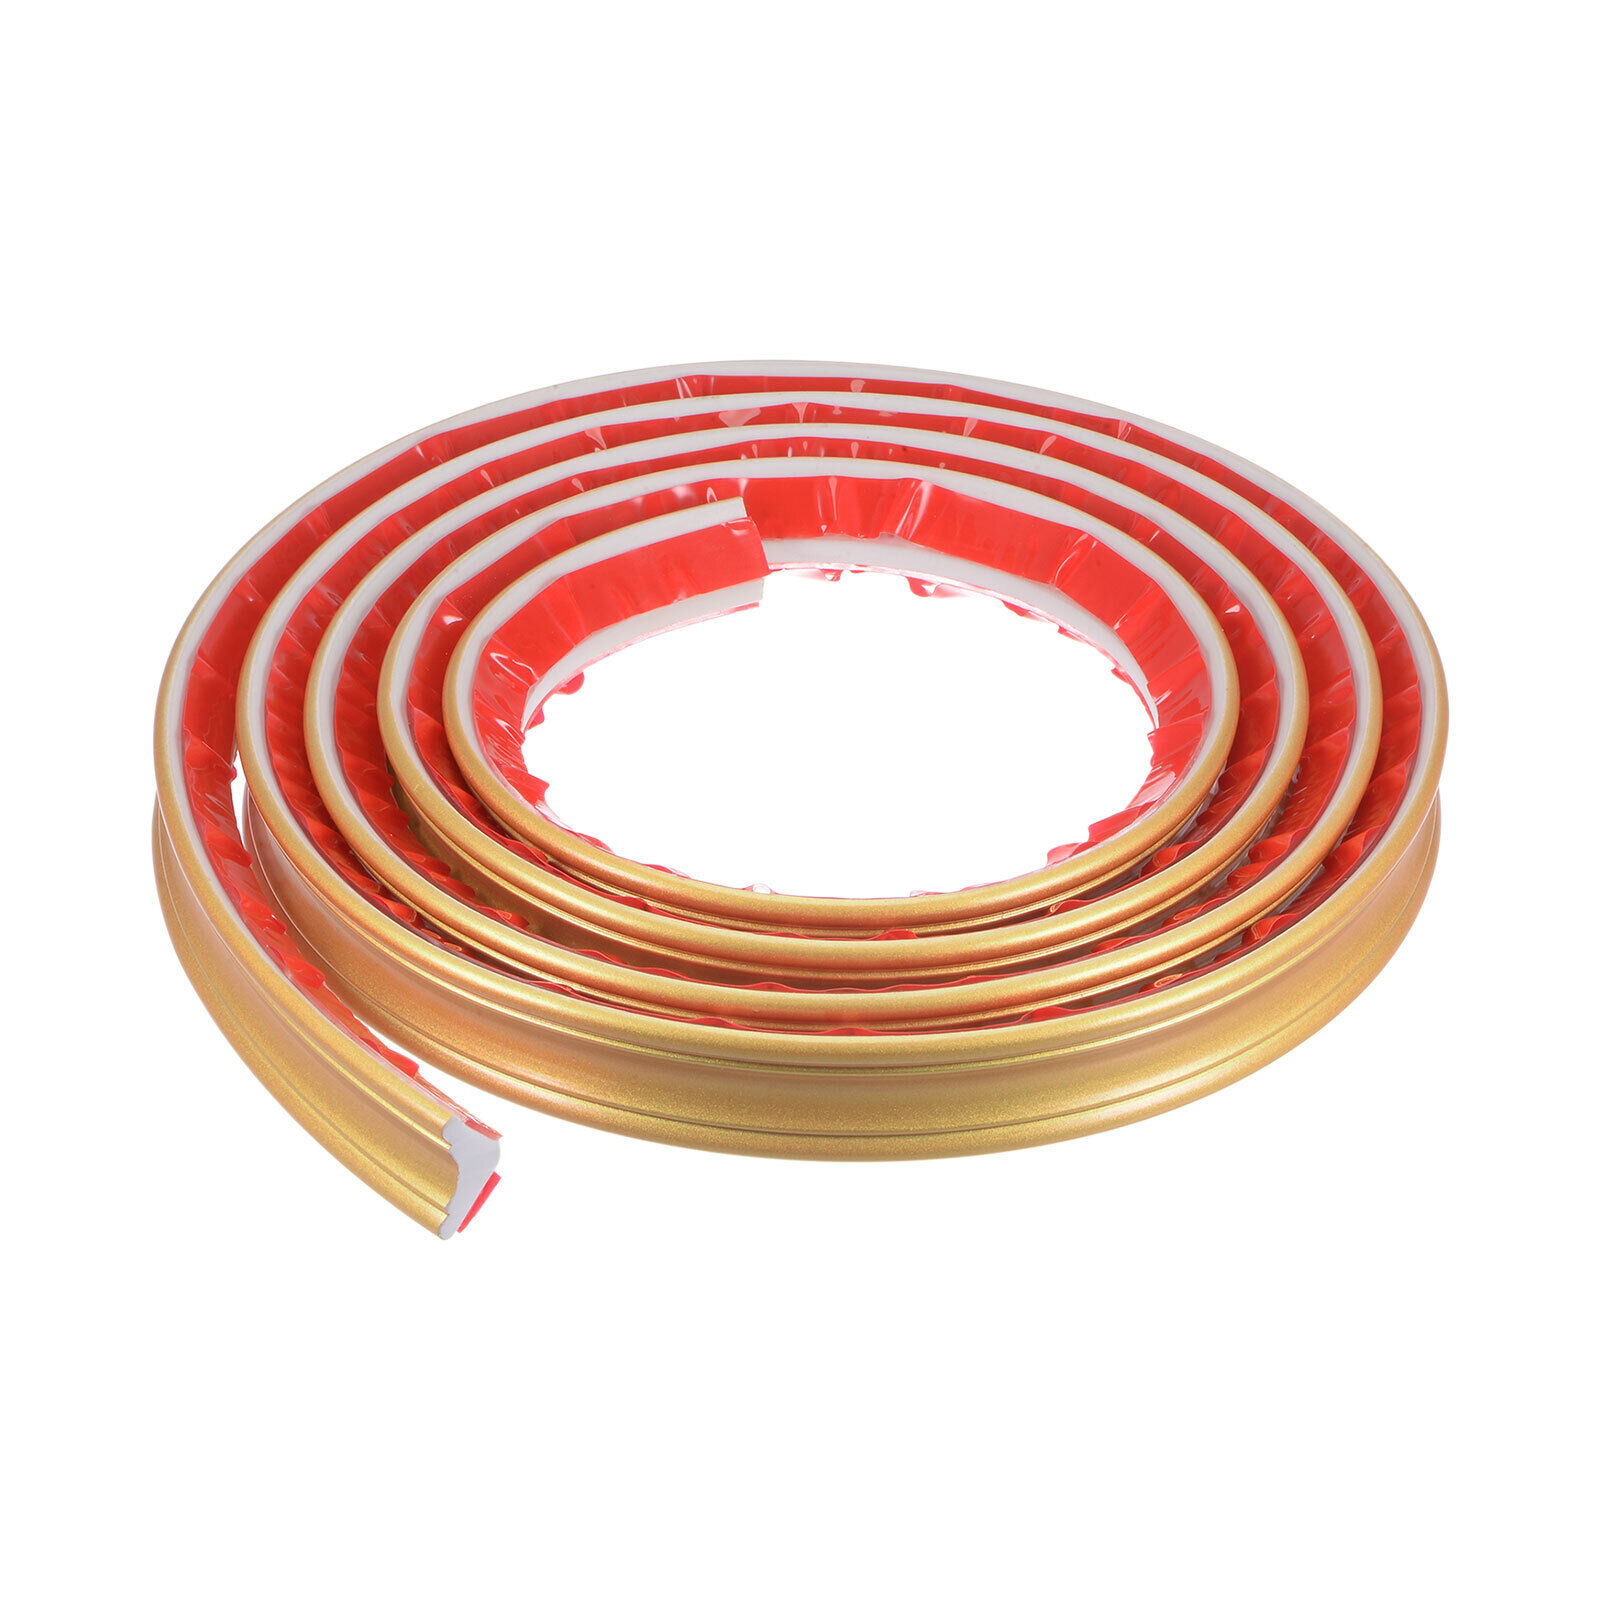
1 set of PU Rosette Style Fluted Door Casings Molding
$ 44.88
- Description
- Size Guide
Description
41 set of Polyurethane (PU) Rosette Style Fluted Door Casings
Model #
OCL-808/10Full
V
alue and
D
esign Come together to create a line of polyurethane millwork designed to give all your projects a distinctive finish
........... a designers finish
Buy
it Now
at
/set
Affordable shipping charges
(Scroll down for more detail)
Each set Come with 2 Rosettes, 3pcs Fluted Door Casings and 2 Plinths
Size Specification........
Model #
OCL-808/10A (Rosette)
Height
3-1/2"
Width
3-1/2"
Projection
3/4"
Model #
OCL-808/10 (Fluted Door Casing)
Width
3-1/4"
Projection
3/4"
Total Length
94-1/2"
Model #
OCL-808/10C (Plinth)
Height
9-1/8"
Width
4-1/8"
Projection
1-1/8"
Also Good for Window Casting and Recess Shelf surrounding........
Need Extra Casings and Rosettes ........
Model #
OCL-808/10A
Model #
OCL-808/10
Polyurethane Installation
Polyurethane mouldings may be installed much the same way you would install wood mouldings, For a better fit, it is advised that a flat or "Butt Joint" is used to Join longer lengths of Polyurethane Mouldings
Always place a continuous bead of premium polyurethane adhesive along all adjoining wall and ceiling surfaces before final positioning of the moulding.
Poly-glue is essential when attaching one length of moulding to the next. A Pneumatic pin nailer works well for fastening polyurethane mouldings to wall and ceiling surfaces; althernatively, trim head drywall screws or finishing nails may be used
Filling and Sanding
Once all of the mouldings are fixed in place, fill andy joints or remaining voids with a paintable siliconized latex caulking. This same caulking may be applied sparingly along the cop and bottom edges of the moulding where it meets the ceiling and wall. A damp cloth or silicone coving tool may be used to clear away any excess caulking to leave a clean professional look
Any remaining nail or screw holes may be filled with sandable, paintable non-shrinking filler. Be careful not to over sand the surfaces of your polyurethane mouldings. Sanding past the protective barrier undercoating may necessitate further filling and sanding to maintain a paintable surface
Shipping & Handling...........
For 48 States:
First Set
Each Additional Set
Will Shipped within 3 business days once we receive the payment
Tracking # will send to Buyer once we ship it out the package
California Buyer add 9% Sale Tax
Product Warranty and Return Policy...........
1 Year Warranty only on Manufacturing defects, buyer must pay round trip Shipping fee for the replacement
All Sale are Final
Contact Information...........
Gary
Tel: 626-4500560
Fax: 626-4500561
Shop More of Our Products
،
،
،
،
،
،
،
،

